Instalar Ghost CMS en Ubuntu 20.04
Ghost es una plataforma CMS (Content Management System) Open Source que podés utilizar para construir tu propio blog y comenzar a publicar contenido. Es muy simple de utilizar y tiene gran variedad de temas gratuitos para instalar, teniendo la posibilidad de adquirir temas de terceros en el marketplace o desarrollar tus propios temas con HTML, CSS, JS y Handlebars. Además, es una plataforma moderna construida con NodeJS y cuenta con una API que nos permite realizar integraciones y automatizaciones.
Pre requisitos
- Un servidor Ubuntu 20.04 con acceso por SSH con un usuario con privilegios de sudo.
- Un nombre de dominio para el blog, apuntando a la IP pública del servidor.
Paso 1 - Instalar Nginx
Ghost utiliza Nginx como reverse proxy:
ubuntu@ghost:~$ sudo apt update
ubuntu@ghost:~$ sudo apt install -y nginx
Podemos verificar que esté instalado y corriendo en el puerto 80 ingresando a través del browser: http://yourblogdomain/. Si todo está bien, deberíamos ver la página web default de Nginx.
Paso 2 - Instalar Mysql y crear base de datos
Ghost utiliza Mysql 8 o superior como base de datos:
ubuntu@ghost:~$ sudo apt install -y mysql-serverChequeamos la versión:
ubuntu@ghost:~$ mysql --version
mysql  Ver 8.0.31-0ubuntu0.20.04.1 for Linux on x86_64 ((Ubuntu))
Ingresar a Mysql y establecer una contraseña para el usuario root:
ubuntu@ghost:~$ sudo mysql
mysql> ALTER USER 'root'@'localhost' IDENTIFIED WITH mysql_native_password BY 'MyP4ssword!';Salir de Mysql:
mysql> exitCorrer instalación segura de Mysql:
ubuntu@ghost:~$ mysql_secure_installation

Securing the MySQL server deployment.

Enter password for user root:

VALIDATE PASSWORD COMPONENT can be used to test passwords
and improve security. It checks the strength of password
and allows the users to set only those passwords which are
secure enough. Would you like to setup VALIDATE PASSWORD component?

Press y|Y for Yes, any other key for No: y

There are three levels of password validation policy:

LOW    Length >= 8
MEDIUM Length >= 8, numeric, mixed case, and special characters
STRONG Length >= 8, numeric, mixed case, special characters and dictionary                  file

Please enter 0 = LOW, 1 = MEDIUM and 2 = STRONG: 1
Using existing password for root.

Estimated strength of the password: 100
Change the password for root ? ((Press y|Y for Yes, any other key for No) : n

 ... skipping.
By default, a MySQL installation has an anonymous user,
allowing anyone to log into MySQL without having to have
a user account created for them. This is intended only for
testing, and to make the installation go a bit smoother.
You should remove them before moving into a production
environment.

Remove anonymous users? (Press y|Y for Yes, any other key for No) : y
Success.


Normally, root should only be allowed to connect from
'localhost'. This ensures that someone cannot guess at
the root password from the network.

Disallow root login remotely? (Press y|Y for Yes, any other key for No) : y
Success.

By default, MySQL comes with a database named 'test' that
anyone can access. This is also intended only for testing,
and should be removed before moving into a production
environment.


Remove test database and access to it? (Press y|Y for Yes, any other key for No) : y
 - Dropping test database...
Success.

 - Removing privileges on test database...
Success.

Reloading the privilege tables will ensure that all changes
made so far will take effect immediately.

Reload privilege tables now? (Press y|Y for Yes, any other key for No) : y
Success.

All done!
Creamos una base de datos y usuario para Ghost:
ubuntu@ghost:~$ sudo mysql -u root -p
mysql> CREATE DATABASE ghostdb;
mysql> CREATE USER ghostdbuser@localhost IDENTIFIED BY 'MyBl0gDB!';
mysql> GRANT ALL ON ghostdb.* TO ghostdbuser@localhost;
mysql> FLUSH PRIVILEGES;
mysql> EXIT;
Paso 3 - Instalar NodeJS
Instalar node 16.x LTS desde PPA:
ubuntu@ghost:~$ curl -L https://deb.nodesource.com/setup_16.x -o nodesource_setup.sh
ubuntu@ghost:~$ sudo bash nodesource_setup.sh
ubuntu@ghost:~$ sudo apt install nodejs
Chequeamos la versión:
ubuntu@ghost:~$ node -v
v16.18.1
Paso 4 - Instalar Ghost
Instalar Ghost-CLI, una herramienta para instalar y administrar Ghost desde la linea de comandos:
ubuntu@ghost:~$ sudo npm install ghost-cli@latest -gCrear un usuario para Ghost. El usuario NO debe llamarse ghost, ya que trae problemas con la Ghost-CLI:
ubuntu@ghost:~$ sudo adduser ghostuser
ubuntu@ghost:~$ sudo usermod -aG sudo ghostuser
Crear un directorio para el sitio de Ghost, en este caso en /var/www:
ubuntu@ghost:~$ sudo mkdir /var/www/ghost
ubuntu@ghost:~$ sudo chown ghostuser:ghostuser /var/www/ghost
ubuntu@ghost:~$ sudo chmod 775 /var/www/ghost
Cambiar al nuevo usuario, ir al directorio del sitio y correr el proceso de instalación:
ubuntu@ghost:~$ su - ghostuser
ghostuser@ghost:~$ cd /var/www/ghost
ghostuser@ghost:/var/www/ghost$ ghost install
Nos lleva a un proceso de instalación y nos pide los siguientes datos:
Blog URL: https://yourblogdomain
Mysql hostname: localhost
Mysql username: usuario configurado anteriormente (ghostdbuser)
Mysql password: la contraseña establecida para ese usuario
Ghost database name: la base de datos creada (ghostdb)
y nos pregunta si queremos configurar Nginx, un certificado SSL y Systemd: en los tres casos respondemos con "y" para que haga la configuración automática.
✔ Checking system Node.js version - found v16.18.1
✔ Checking logged in user
✔ Checking current folder permissions
✔ Checking system compatibility
✔ Checking for a MySQL installation
✔ Checking memory availability
✔ Checking free space
✔ Checking for latest Ghost version
✔ Setting up install directory
✔ Downloading and installing Ghost v5.22.10
✔ Finishing install process
? Enter your blog URL: https://community.nubi2go.com
? Enter your MySQL hostname: localhost
? Enter your MySQL username: ghostdbuser
? Enter your MySQL password: [hidden]
? Enter your Ghost database name: ghostdb
✔ Configuring Ghost
✔ Setting up instance
+ sudo useradd --system --user-group ghost
? Sudo Password [hidden]
+ sudo chown -R ghost:ghost /home/ghostuser/content
✔ Setting up "ghost" system user
ℹ Setting up "ghost" mysql user [skipped]
? Do you wish to set up Nginx? Yes
+ sudo mv /tmp/community-nubi2go-com/community.nubi2go.com.conf /etc/nginx/sites -available/community.nubi2go.com.conf
+ sudo ln -sf /etc/nginx/sites-available/community.nubi2go.com.conf /etc/nginx/s ites-enabled/community.nubi2go.com.conf
+ sudo nginx -s reload
✔ Setting up Nginx
? Do you wish to set up SSL? Yes
? Enter your email (For SSL Certificate) marketing@nubi2go.com
+ sudo mkdir -p /etc/letsencrypt
+ sudo ./acme.sh --install --home /etc/letsencrypt
+ sudo /etc/letsencrypt/acme.sh --issue --home /etc/letsencrypt --server letsenc rypt --domain community.nubi2go.com --webroot /home/ghostuser/system/nginx-root --reloadcmd "nginx -s reload" --accountemail marketing@nubi2go.com
+ sudo openssl dhparam -dsaparam -out /etc/nginx/snippets/dhparam.pem 2048
+ sudo mv /tmp/ssl-params.conf /etc/nginx/snippets/ssl-params.conf
+ sudo mv /tmp/community-nubi2go-com/community.nubi2go.com-ssl.conf /etc/nginx/s ites-available/community.nubi2go.com-ssl.conf
+ sudo ln -sf /etc/nginx/sites-available/community.nubi2go.com-ssl.conf /etc/ngi nx/sites-enabled/community.nubi2go.com-ssl.conf
+ sudo nginx -s reload
✔ Setting up SSL
? Do you wish to set up Systemd? Yes
+ sudo mv /tmp/community-nubi2go-com/ghost_community-nubi2go-com.service /lib/sy stemd/system/ghost_community-nubi2go-com.service
+ sudo systemctl daemon-reload
✔ Setting up Systemd
+ sudo systemctl is-active ghost_community-nubi2go-com
? Do you want to start Ghost? Yes
+ sudo systemctl start ghost_community-nubi2go-com
+ sudo systemctl is-enabled ghost_community-nubi2go-com
+ sudo systemctl enable ghost_community-nubi2go-com --quiet
✔ Starting Ghost
Ghost uses direct mail by default. To set up an alternative email method read ou r docs at https://ghost.org/docs/config/#mail
------------------------------------------------------------------------------
Ghost was installed successfully! To complete setup of your publication, visit:
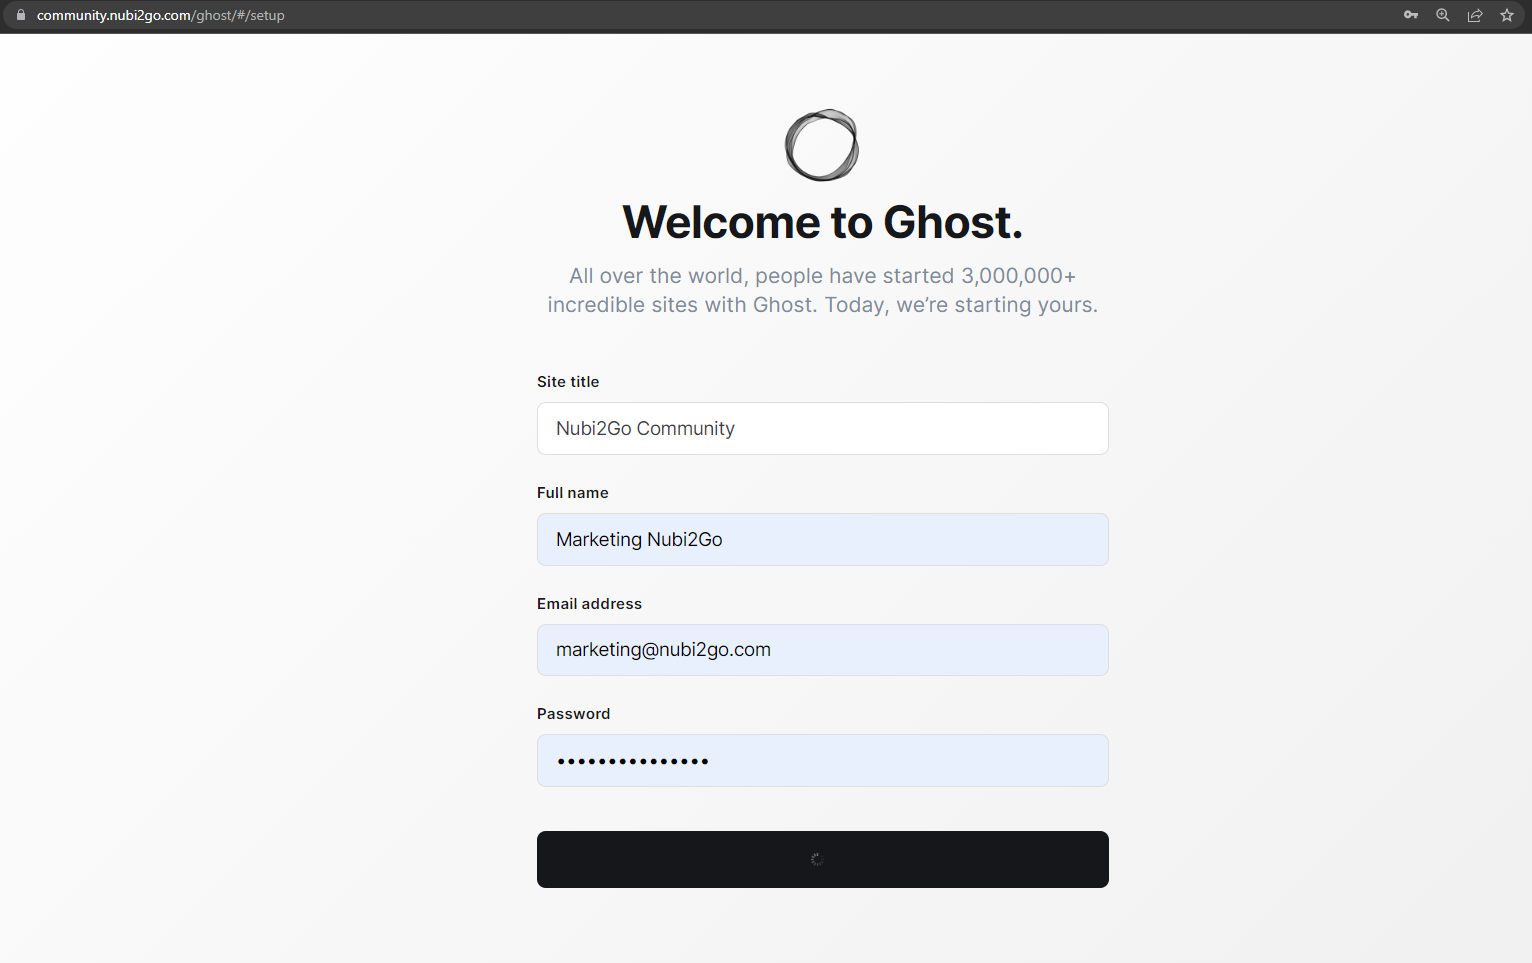
https://community.nubi2go.com/ghost/¡Y listo! ya está instalado y configurado nuestro blog de Ghost. Vamos al sitio con la url que nos indica al final de la instalación https://yourblogdomain/ghost/ para crear la cuenta administrativa:
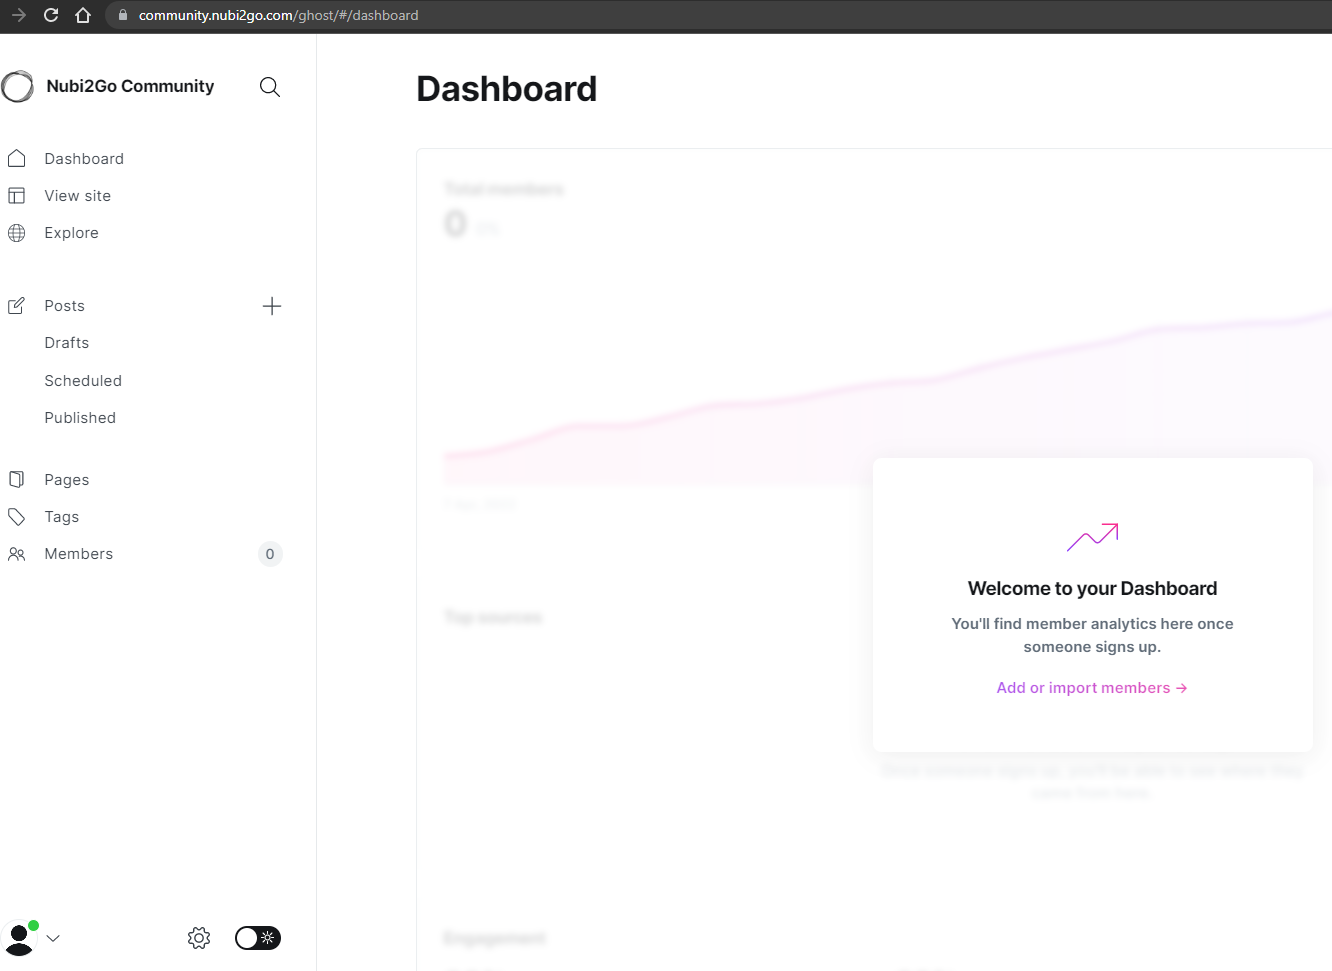
Una vez registrados, accedemos al panel de administración, donde se crean los posts, tags, usuarios, se configuran los temas y más:
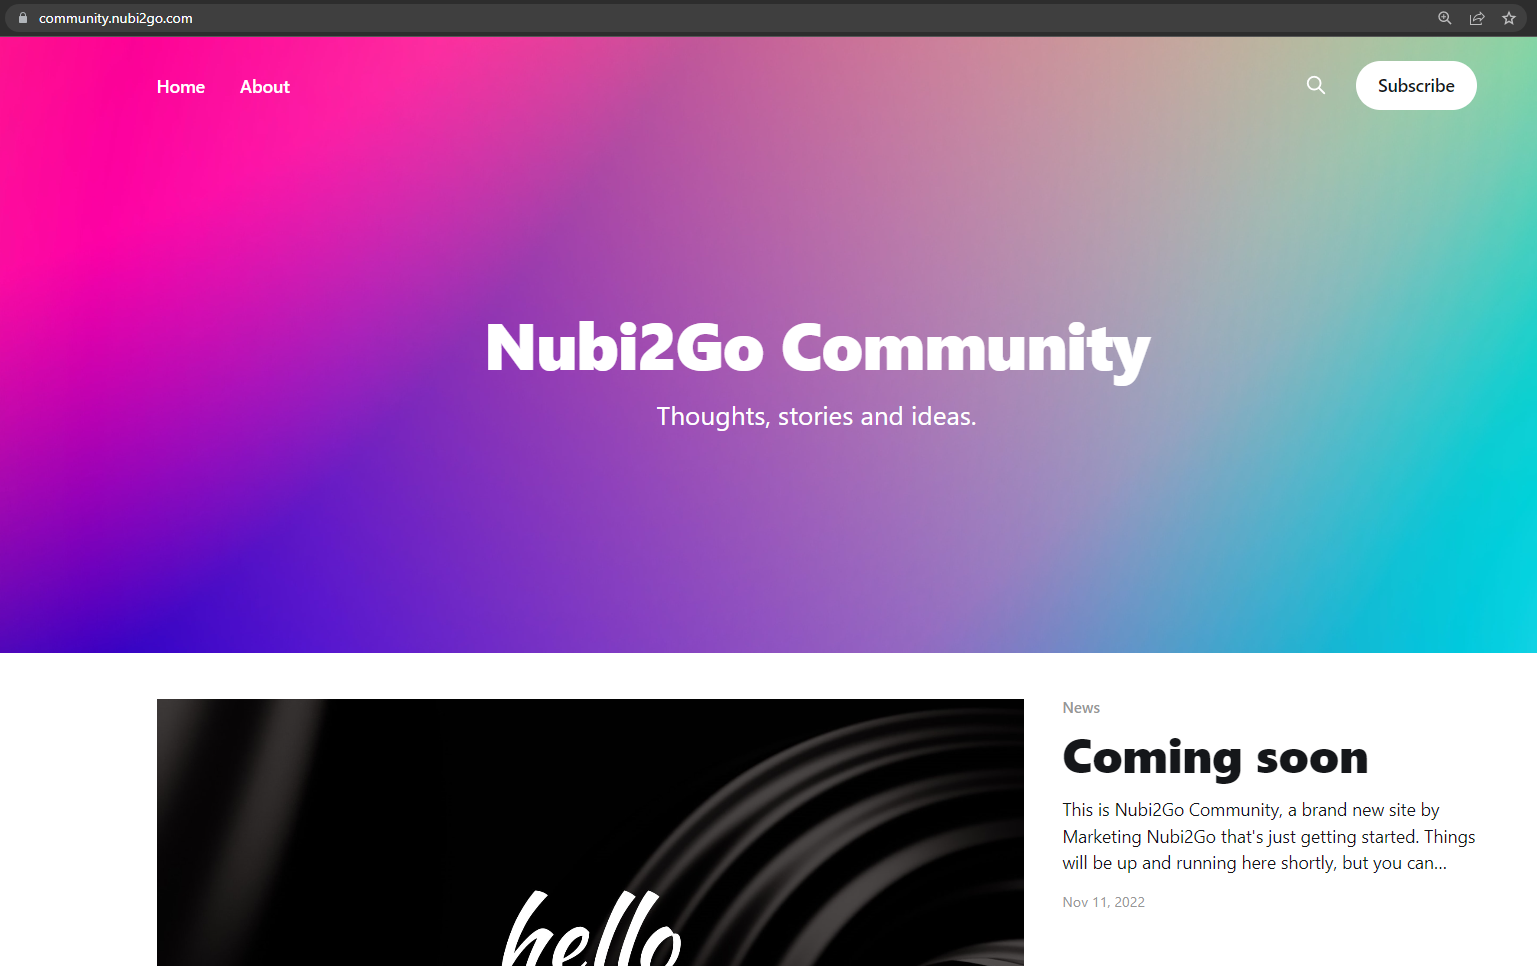
y la vista de un usuario es: